As a newcomer to the fiber world, I have done my share of research. I read about worsted spinning and woolen, semi-worsted and semi-woolen. I taught myself longdraw/from the fold with top (not by any means the best way to learn long draw, by the way).
I saw the term rolag more than once. I even saw pictures of them in books and websites. But nowhere did I see them for sale. I knew I had to try them, to satisfy my need for knowledge.
My first rolags were a mess. they looked nothing like the pretty handfuls of fiber I'd seen in pictures. But they spun. and they spun well. So I tried again. They were better.
Rolags are the number 1 BEST way to spin a true woolen yarn. I hear some people say that they can only spin thread in woolen way. I'm not sure why that is, but for me, I don't find it true at all. On the contrary, I find myself able to spin much thicker singles when I spin woolen from rolags, and much faster, too.
so, for those who are now saying, "I wanna spin from a rolag, but how?" First you need your rolags to do it with. You can either buy them, if you can find them to buy (hint, I will have some stocked at the Grand Opening of the Indie Dyers Coop) or you can make them.
To make a rolag, step one:
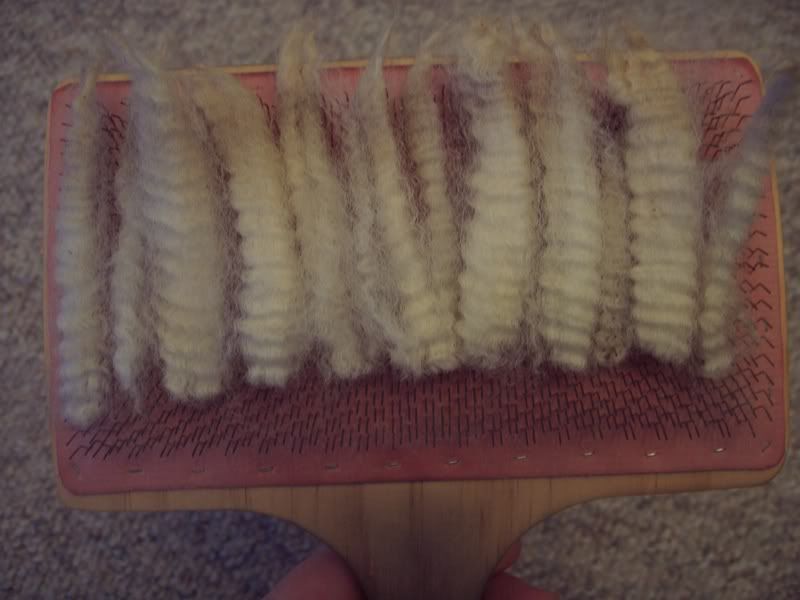
Charge your hand carder. I used some washed but unprocessed perendale wool. you could also use that commercial top you can get everywhere. just draw the top across the carder gently, leaving fibers caught in the teeth. My Perendale was in lock formation, and I just laid the locks out on the carders side by side. they were so nice and clean I didn't even have to pick them. (Thank you Beth of WhorlingTides for this beautiful fiber.)

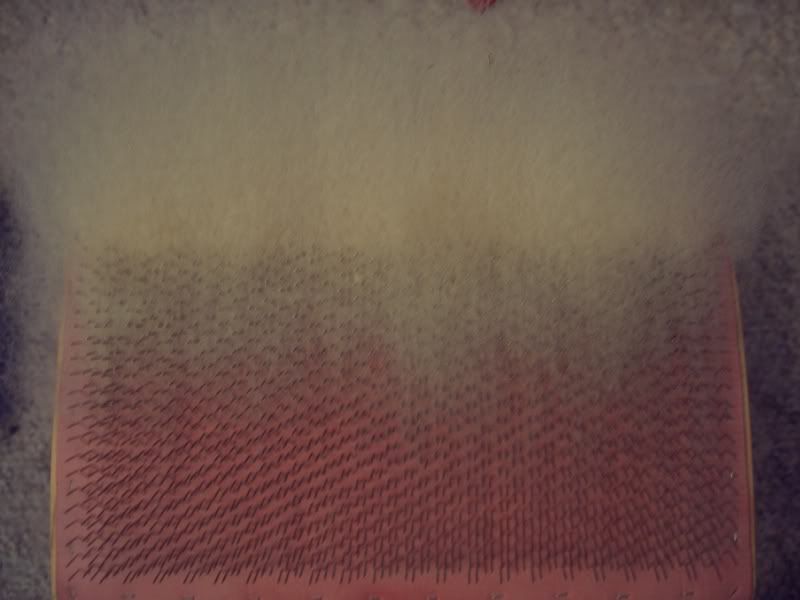
Draw your second carder across the first, straightening the fibers, and blending them together. Be sure you don't mash the teeth together, you'll damage your carders. You just want to move the fiber from one card to the other. I do this till all my fiber is on my second card, (it helps to have a bit of an upward draw as you pull the card across) and then I switch cards. My Perendale is now all nice and fluffy on one side, but still somewhat in lock formation on the other.
So, to get the other side, you'll switch hands now. start brushing your now empty card across the full one. When you have emptied that, then you need to make a decision. Are your fibers neatly aligned? do they look nice and fluffy, top and bottom? Mine did, and I chose to say they were carded plenty, and move on to rolling them. If you think you need to go over them again, go ahead. I don't usually card more than 3 passes, though... more than that can start to cause broken fibers and tangles.

Step three, Rolling your rolag:
The final step in making your rolag is to roll it. there are lots of ways to do it. For me, I take my empty card, and using the flat back of it, I fold over all the fibers hanging off the edge of the full card onto themselves. then I start gently rolling them back, keeping them as even as possible. When they are all rolled, roll them right off the card. I even like to roll them across again, if I think they aren't staying neat enough.
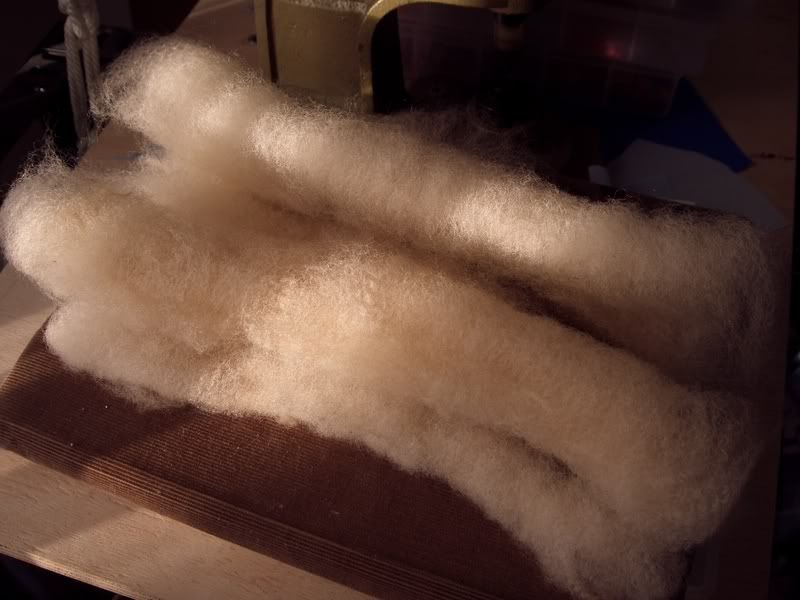
Then, you will have these:

Yummy, aren't they?
Now, spinning rolags, another fun and rewarding activity, will have to come another day. I hope you enjoyed this journey of rolags, I know I did.
So, to get the other side, you'll switch hands now. start brushing your now empty card across the full one. When you have emptied that, then you need to make a decision. Are your fibers neatly aligned? do they look nice and fluffy, top and bottom? Mine did, and I chose to say they were carded plenty, and move on to rolling them. If you think you need to go over them again, go ahead. I don't usually card more than 3 passes, though... more than that can start to cause broken fibers and tangles.

Step three, Rolling your rolag:
The final step in making your rolag is to roll it. there are lots of ways to do it. For me, I take my empty card, and using the flat back of it, I fold over all the fibers hanging off the edge of the full card onto themselves. then I start gently rolling them back, keeping them as even as possible. When they are all rolled, roll them right off the card. I even like to roll them across again, if I think they aren't staying neat enough.
Then, you will have these:

Yummy, aren't they?
Now, spinning rolags, another fun and rewarding activity, will have to come another day. I hope you enjoyed this journey of rolags, I know I did.


Hi there! Love the fiber-y pics, and the photos of yummy yarns!
Hope you have a great weekend,
Trish
EXCELLENT post on hand carding. I have been carding for about 9 months and I am not sure I would take photos of my rolags. Thanks for the comment and the award. It's the third such I have recieved! I have been pondering each and who I would pass it onto, and am now way behind the game. Woe is me.
PS. I used flannel diapers, made by my mom, on all my bebes!
Thanks for you pix of the perendale and great directions for carding. I've a little carding and not done that well. I will work on the locks tonight. It seems like it is soft and very nice to work wiht.
Jenny